


-
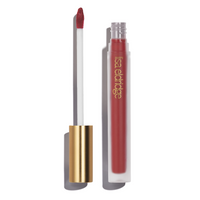
 NEW Rouge Experience
Refillable Lipstick
NEW Rouge Experience
Refillable Lipstick
-
 NEW Rouge Experience
Refill
NEW Rouge Experience
Refill
-
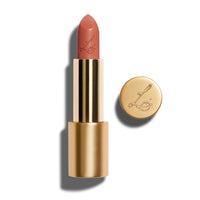
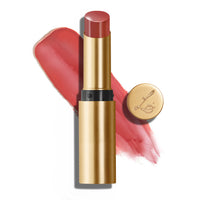
 True Velvet
Lip Colour
True Velvet
Lip Colour
-
 Luxuriously Lucent
Lip Colour
Luxuriously Lucent
Lip Colour
-
 Insanely Saturated
Lip Colour
Insanely Saturated
Lip Colour
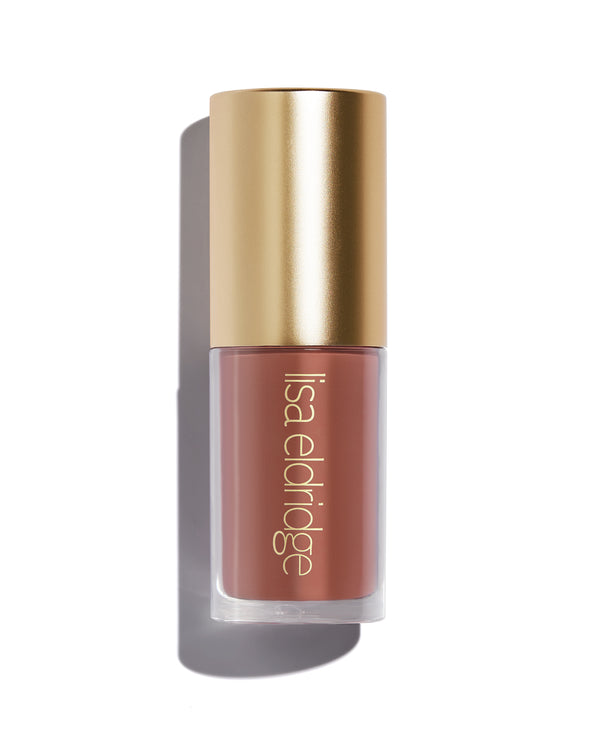
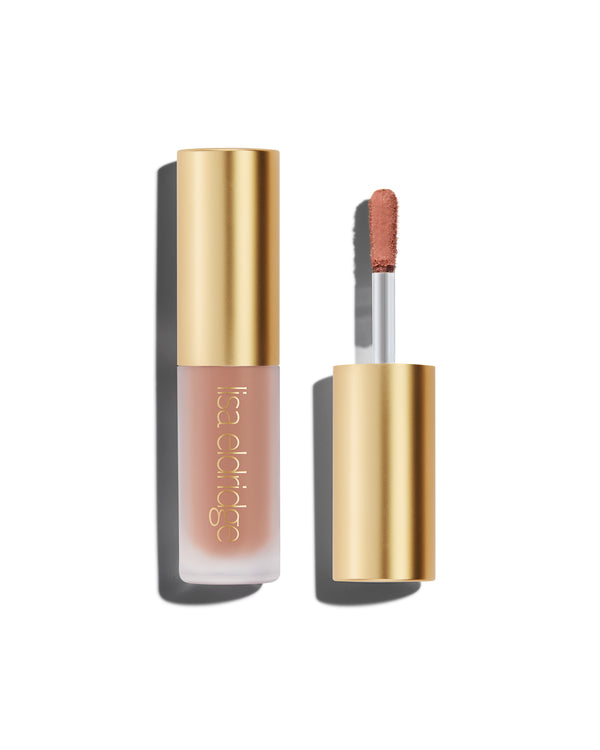
-
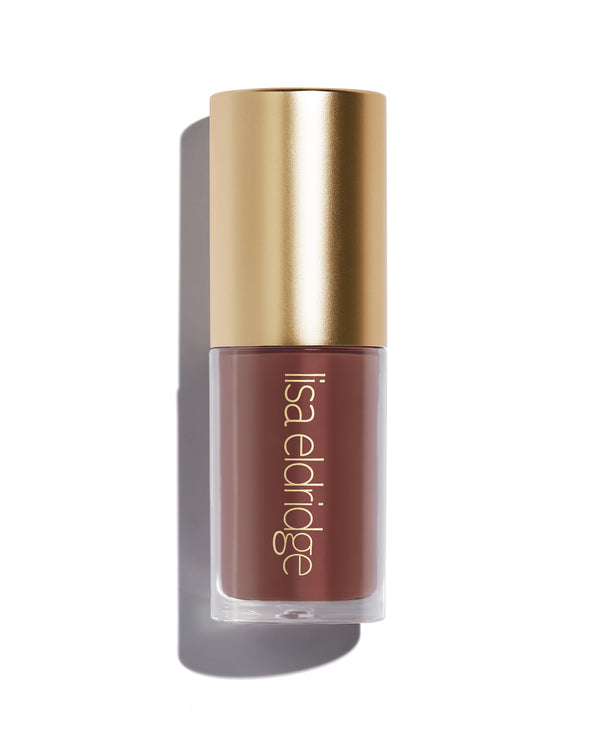
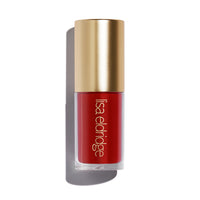
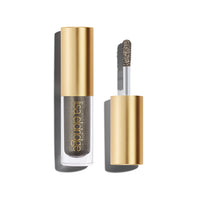
 Velveteen
Liquid Lip Colour
Velveteen
Liquid Lip Colour
-
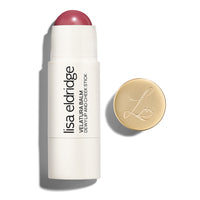
 Velatura Lip
And Cheek Balm
Velatura Lip
And Cheek Balm
-
 Baume Embrace
Melting Lip Colour
Baume Embrace
Melting Lip Colour
-
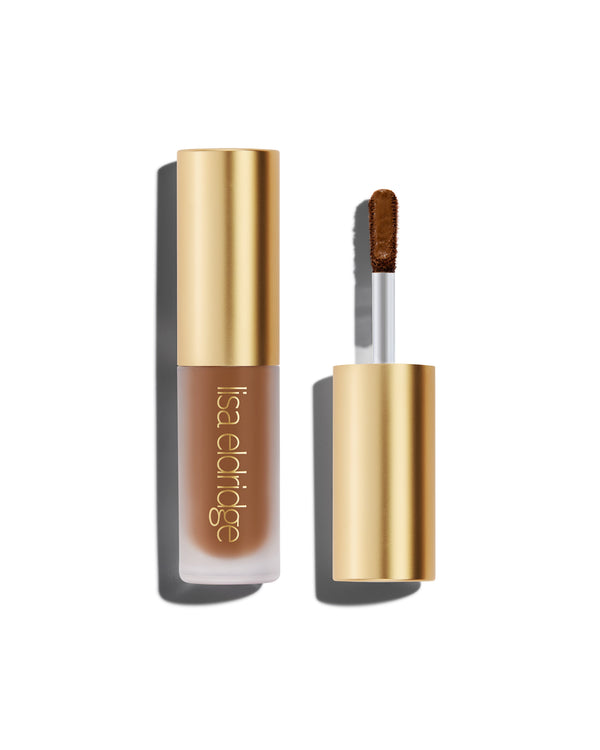
 Gloss Embrace
Lip Gloss
Gloss Embrace
Lip Gloss
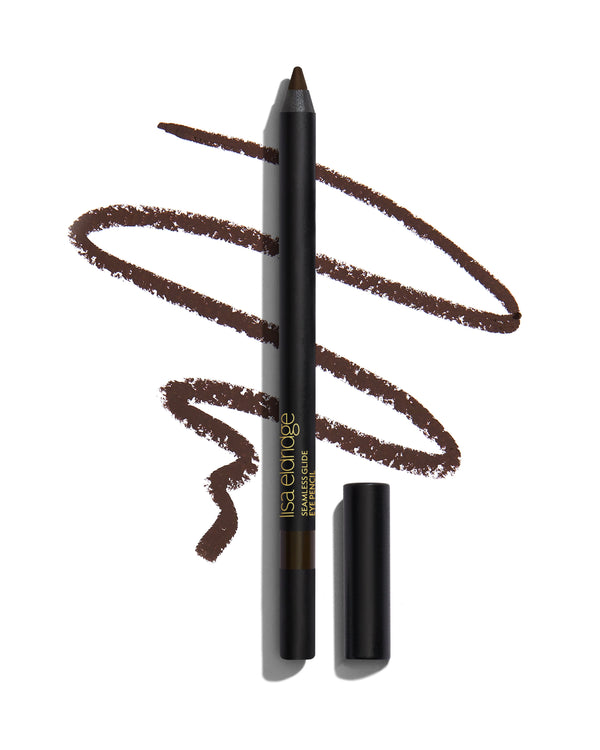
-
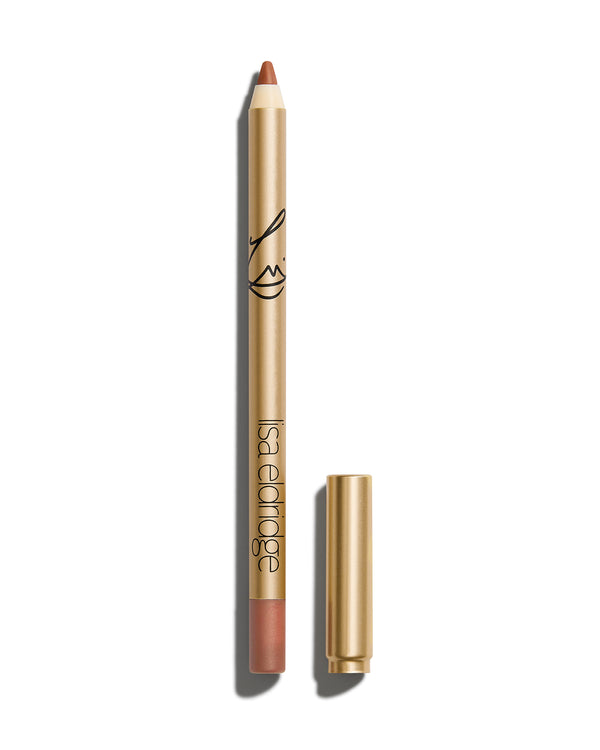
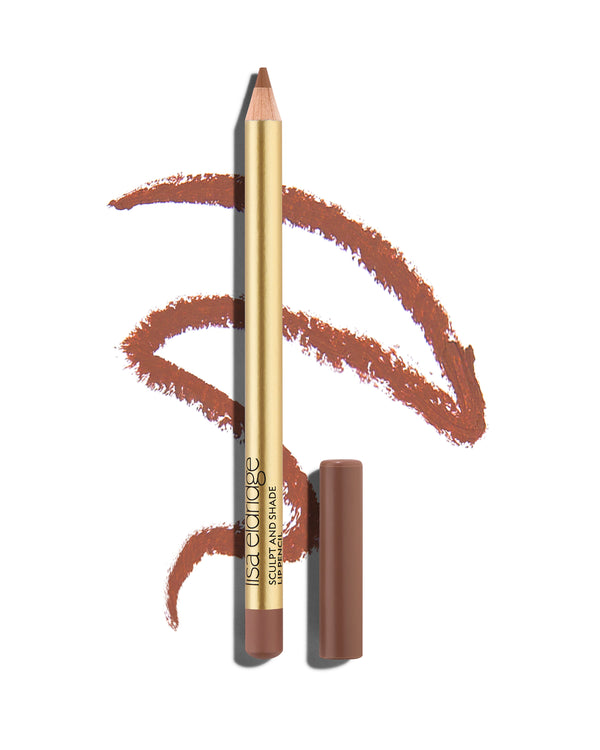
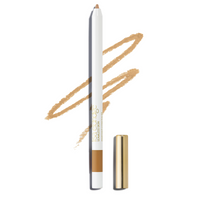
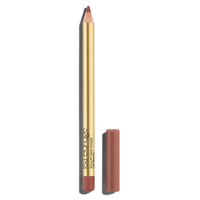
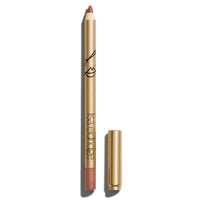 Enhance and Define
Lip Pencil
Enhance and Define
Lip Pencil
-
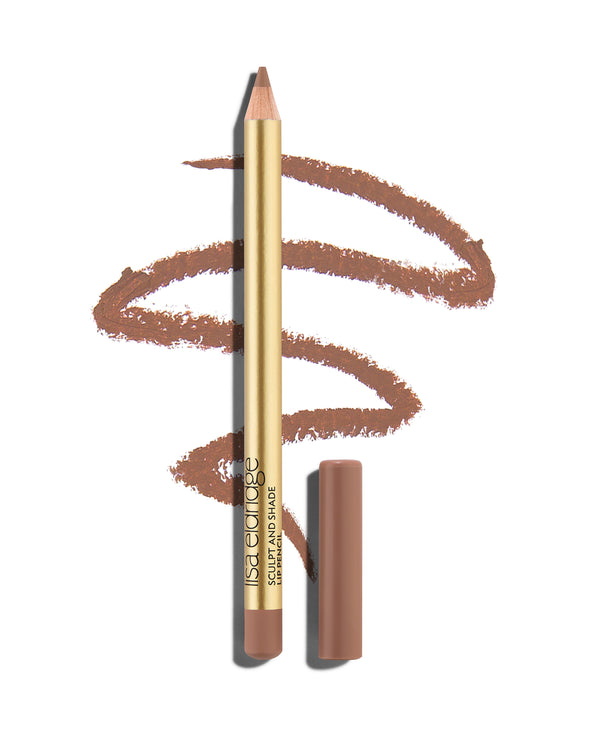
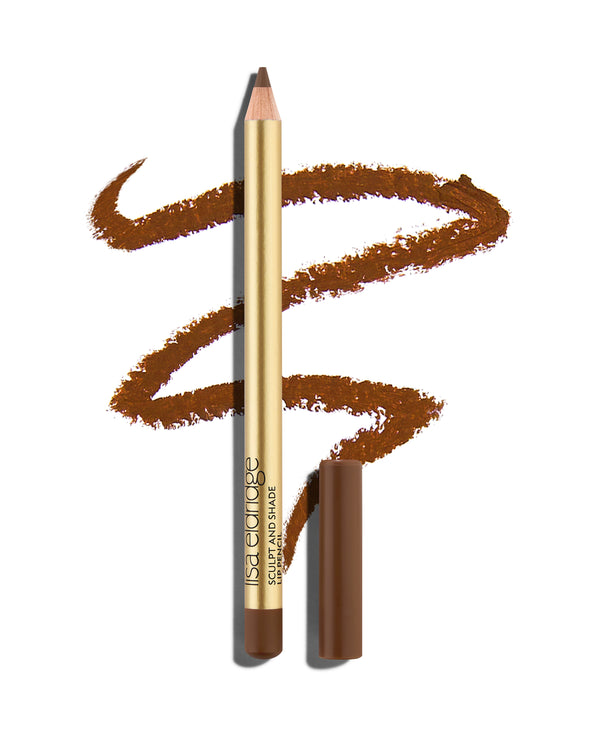
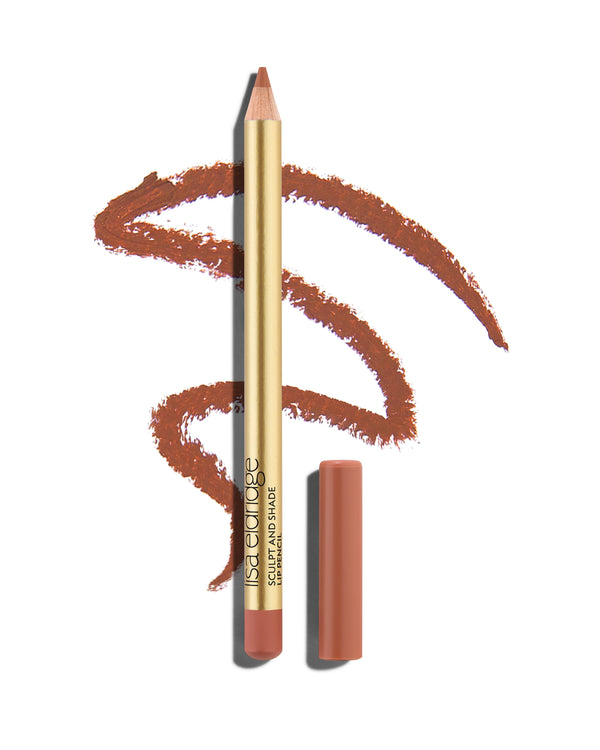
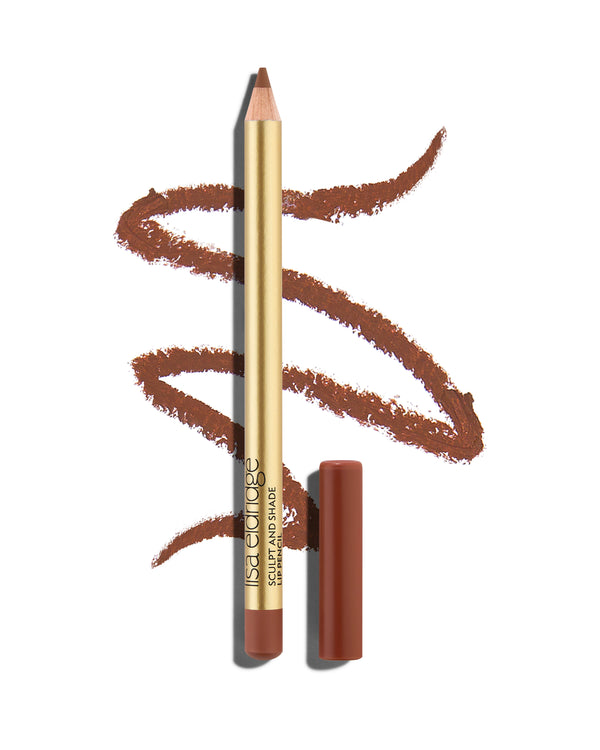
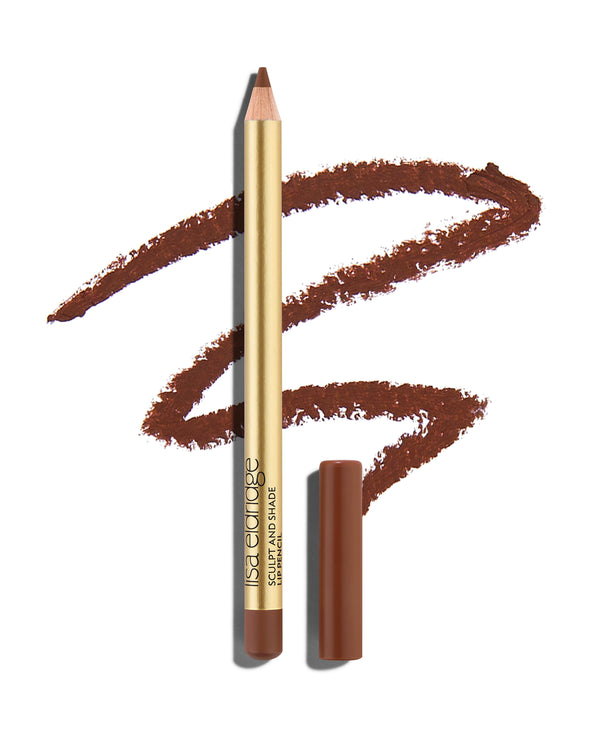
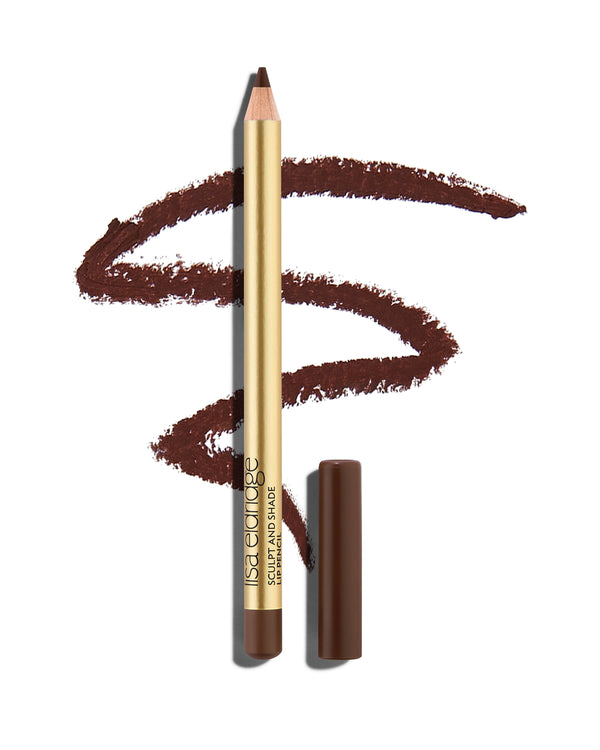
 Sculpt and Shade
Lip Pencil
Sculpt and Shade
Lip Pencil


You’re currently on our international website. US customers, please shop our US website.
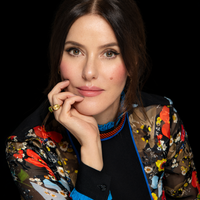
Autumn Tones
The days are getting shorter and the air starting to feel crisp here in London , especially in the mornings. Although Summer is BY FAR my favourite season, I do love the first feeling of Autumn. One of my favourite things to do this time of year is to wander round Hampstead Heath (for those of you who aren’t too familiar with London, it’s a huge, ancient heath - full of woodland and meadows not too far from my home and studio). This time of year, when I’m walking back from the studio in the early evening - I see all the crows gathering in huge groups on the grass, it's almost spooky, like they’re having a town hall meeting! This happens every year, and I’m sure there’s a reason behind it… I like to imagine they are debating which sunny island destination to fly to next. When I see them gathering like this, it’s the unmistakable sign that autumn has arrived.
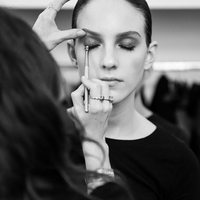
When it comes to makeup, this golden in-between the seasons moment is perfect for rich, softly diffused earthy tones in light-reflecting finishes that help extend your summer glow, while feeling beautifully in synergy with natures new tawny palette.
Softly bronzed tones can also work well now for my friends in the southern hemisphere, to help shake off winter complexions, and begin to welcome warmer days ahead.
Follow this step-by-step and dip your brushes into the colours of the season;